

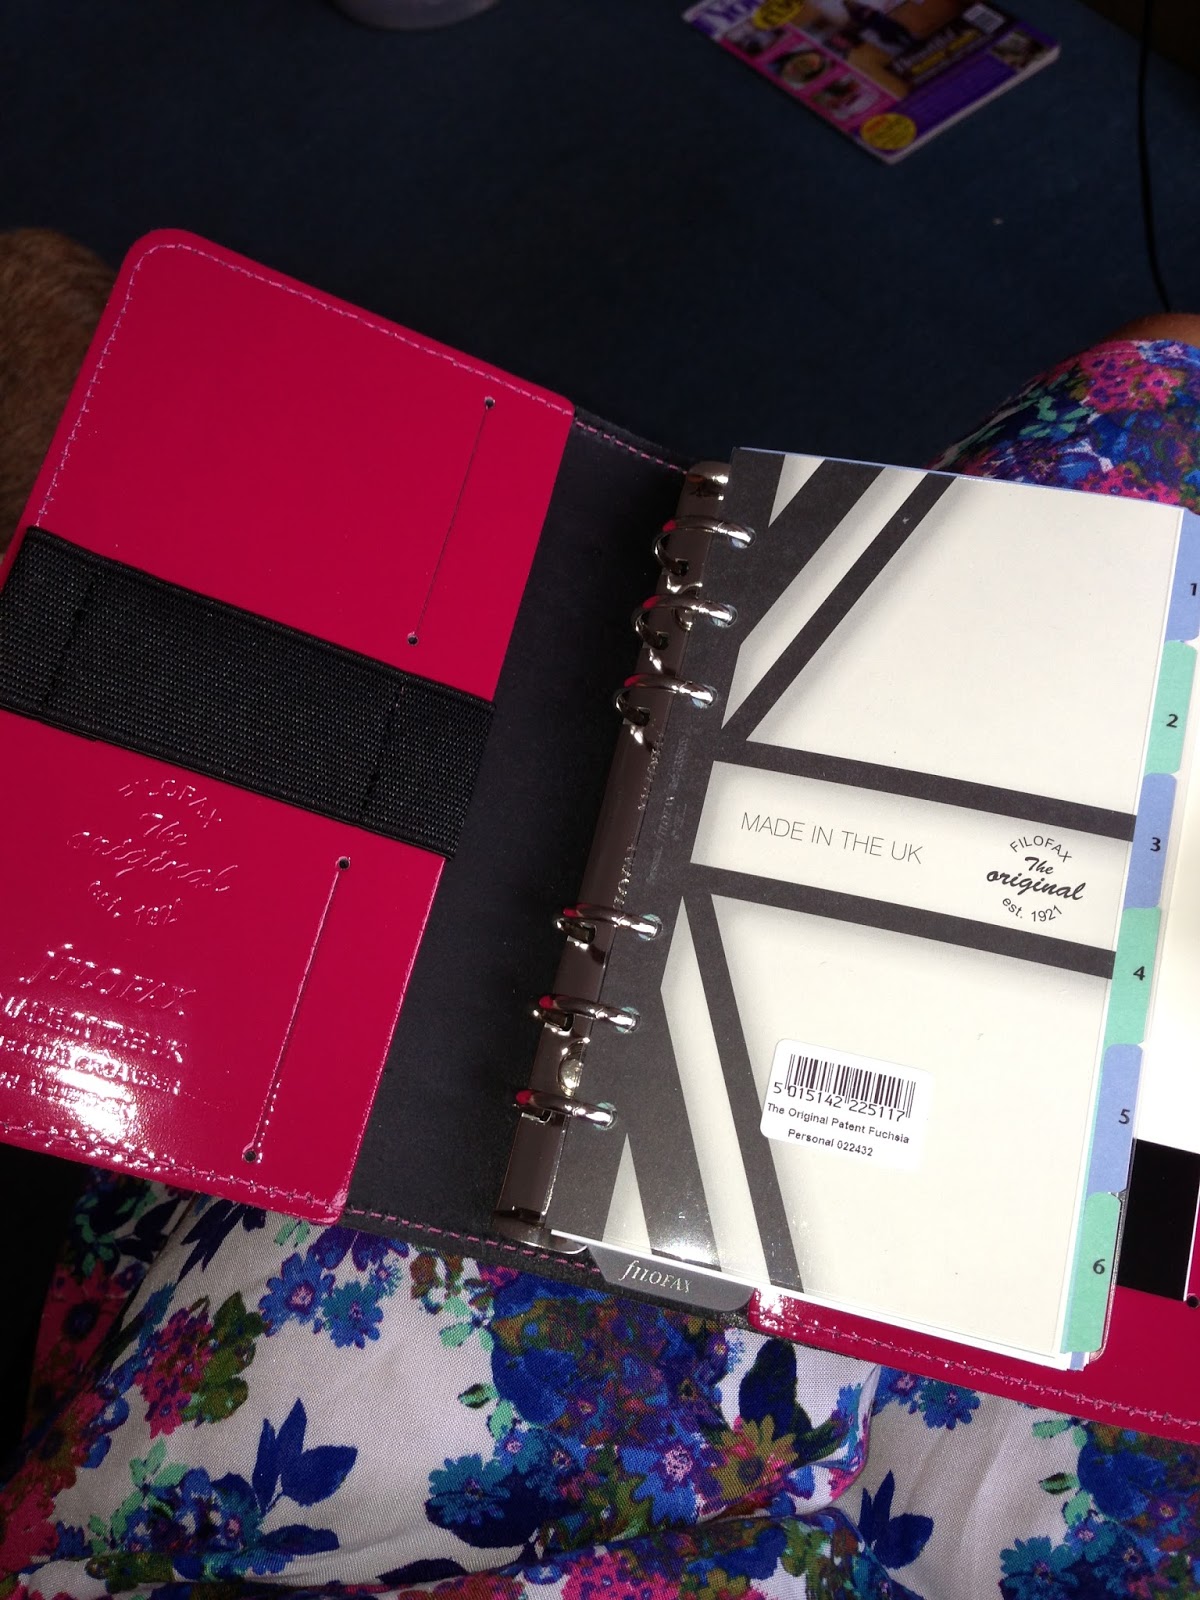
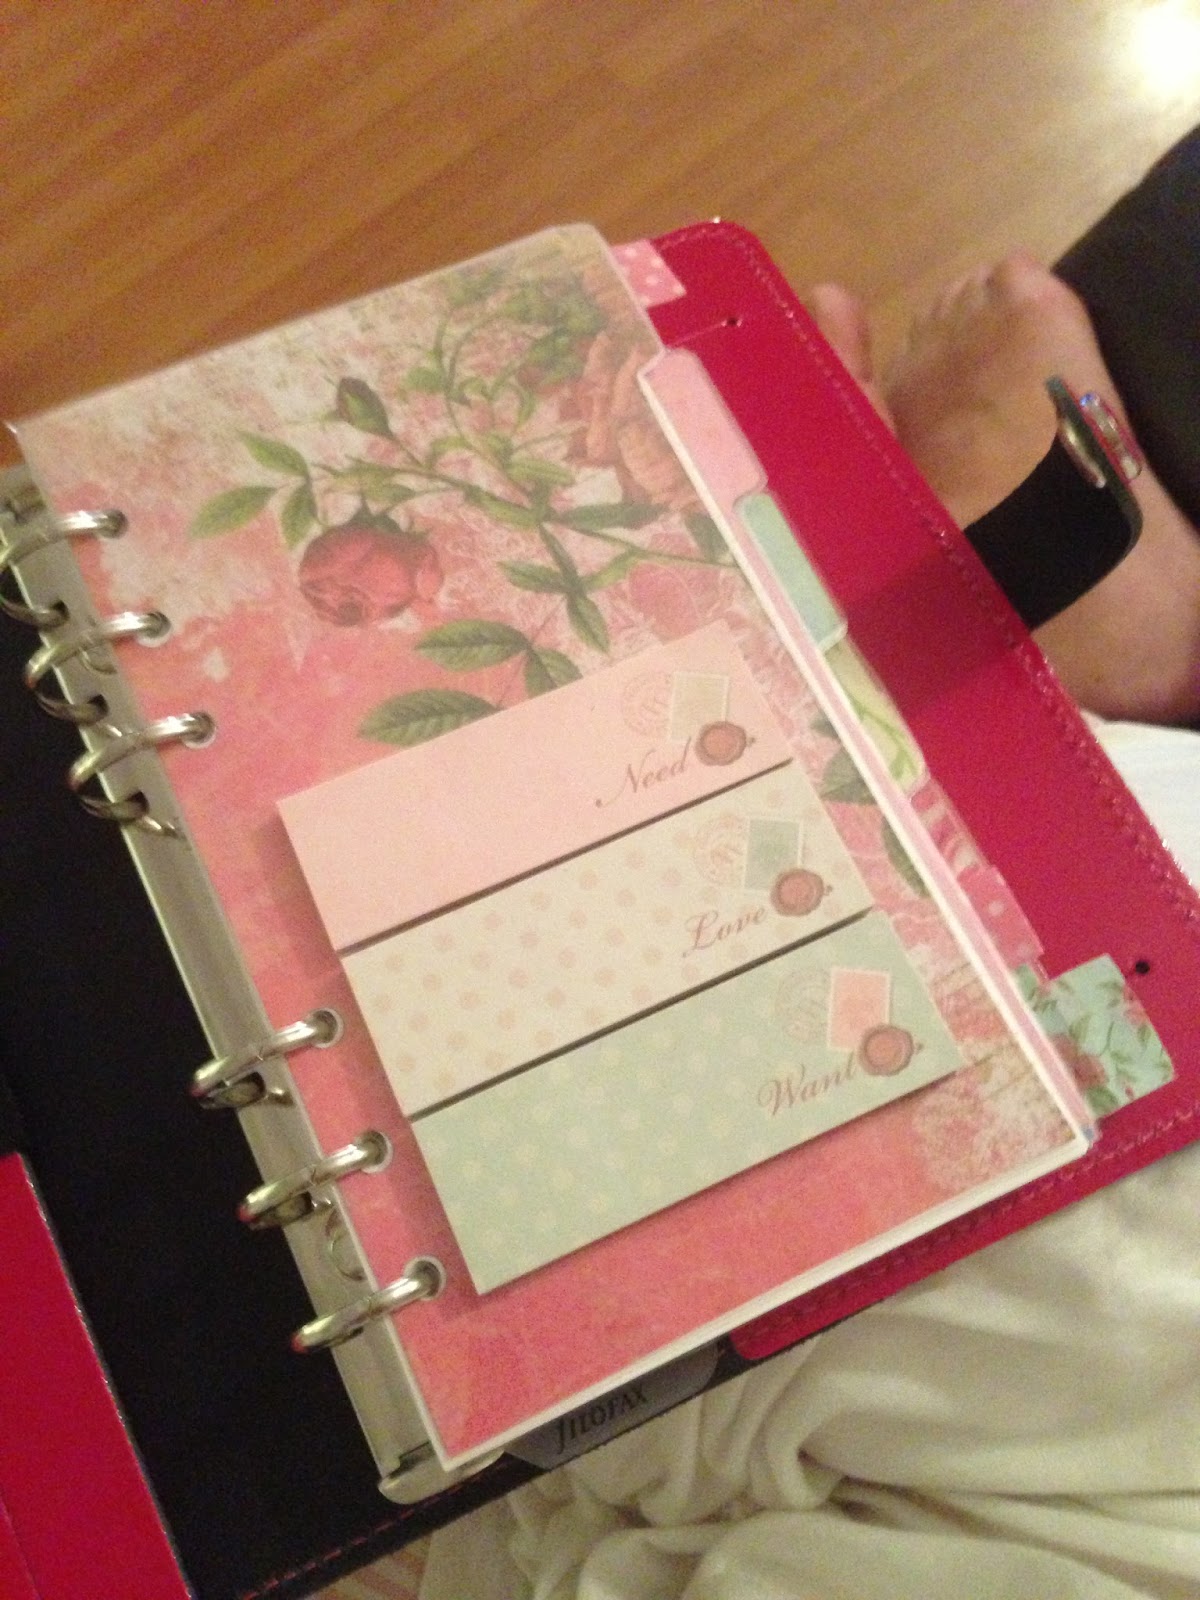
So far, my Filofax Original has suited me down to the ground. It came with a selection of stationery, blue, green, pink and white note paper, squared paper, to do lists, contact pages, diary plus the usual size charts and notable dates pages. I got to work straight away by making my own dividers. Some of the ones I've seen on IG and Pinterest have been fab so I took inspiration from these. As I'm into card making I have quite an array of backing papers so decided to use some of these for the job. The ones I actually ended up using were freebies from Cardmaking and Papercraft magazine but with their floral patterns, they were just the look I was going for.
- I started by drawing around the dividers that came with the filofax onto the backing papers so that I had the perfect outline which I then cut out with scissors.
- Once my dividers had all been cut out I laminated them using A4 laminating sheets. I found that I could get 3 of the dividers in one A4 sheet.
- When the laminated sheets had cooled down I once again cut around the dividers using scissors, leaving a small (approx 2-3 mm) edge to allow the laminating sheet to stick together.
- I traced the punch holes from the original dividers onto my newly laminated dividers.
- I don't have a fancy filofax hole punch so I punched each of the holes individually using a single handheld hole punch. Obviously, this takes a little longer but is a much cheaper option.


I bought some super Forever Friends sticky notes while we were away in Cornwall and I've put these inside the clear pocket that came with the Filofax.
Seeing as a couple of my Filofax sections are music related (Ladies Choir and School Choir) I decided to make a few note paper pages with a musical background.
- I found a background image from the internet and then using MS Word I sized the background to the size of a 'Personal' page.
- I also turned the image to greyscale to fade it slightly. I then copied and pasted this 3 times onto my A4 page.
- On each background I added a text box with no outline and then added a table with only bottom lines showing, hence creating my lined paper effect.
- I printed these to A4 white paper and cut out using my paper trimmer.
- As with the dividers, I traced the holes from some of my original Filofax stationery and then punched with my single hole punch.

Thanks for stopping by! x